Around Thalumbra, there are a number of fun timed quests that can be completed for a variety of rewards! I have seen a lot of people asking about these quests and the rewards, so I decided to make a short guide to how they work and where they are!
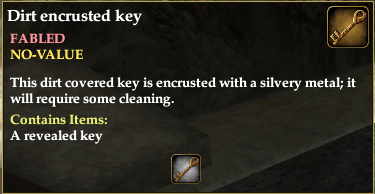
First of all, the timed quests are repeatable every 2 1/2 – 3 hours, and they vary in difficulty from very easy to pretty hard. They all require you to complete a set of tasks within the allotted time, or it will fail and you will have to wait before trying again. All of them reward you with the same thing, a “Dirt encrusted key”, which can be unpacked for a reward, as well as some coin and faction.
Unpacking a “Dirt encrusted key” awards you with “Ancient silver engravings” which can be sold for status, as well as one of three possible rewards:
- An ancient gold key
- An ancient platinum key
- An ancient umbrite key
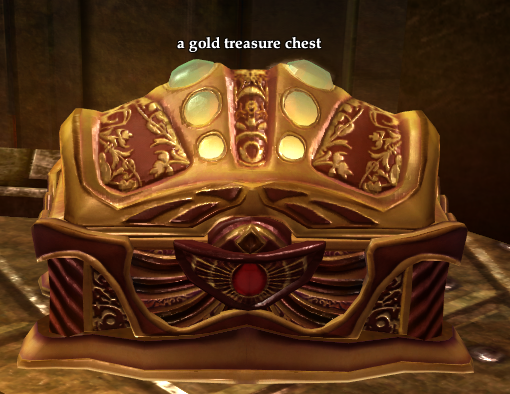
These keys are then used to open corresponding treasure chests which appear randomly out in Thalumbra. The different keys correspond to different tiers of loot, where opening a gold treasure chest, being the lowest tier, awards you with something of solo quality and going up from there. You may have to fly around for a while before finding any chests, and it is possible to use multiple keys of the same type on the same chest. There is therefore no harm in saving up a bunch of keys until you manage to find one!
Now that you know what the rewards are, you might be thinking “This sounds fun! Where can I start these quests?” Here you go!
To date, there have been ten different timed quests discovered:
 Crate Courier (465, 19, 885) (easy)
The Lost Miner (446, 85, 366) (easy)
Rubble Rampage (184, 79, -440) (easy)
Swimming For Shrooms (950, 43, 198) (easy)
 Unsealed Tombs (362, 177, 555) (moderate)
Memory Bloom (515, 73, -167) (moderate)
Millions of Leeches, Leeches for Me (342, 483, 100) (moderate)
 Extinguish the Flames (-107, 232, -692) (Hard)
Pox Raiding (-428, 258, 393) (Hard)
Leech Liberator (-404, 31 -497) (Hard)
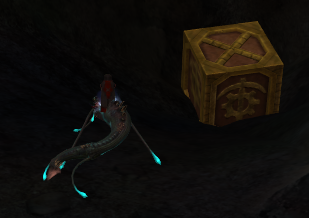
Crate Courier
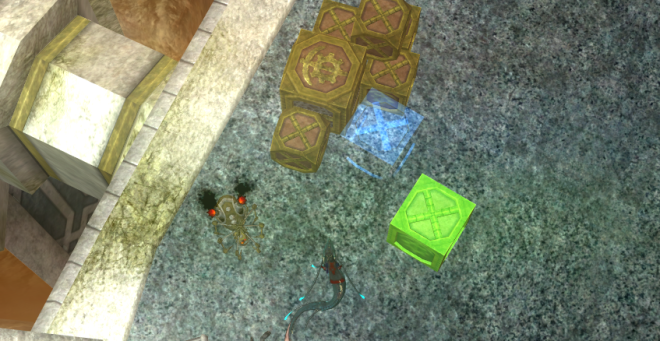
- Started: Inspect crate at (465, 19, 885)
- Goal: Safely move crate to final destination
- Method: Moving crate like a house item
Crate courier is one of the easier timed quests around. The goal is to safely move a crate from one location to another without destroying it.
Once you have started the quest, remember to actually pick it up like a house item to move it as well! Along the way (you can’t fly) you will more than likely be attacked, but it is perfectly safe to just place the crate on the ground (by pressing ESCAPE), kill your enemies, and then continue on. Halfway out of the cave, turn right and take the path up to the upper platform. Once you reach your destination (near a pile of boxes the platform above the starting location) you place the crate, the quest will complete.
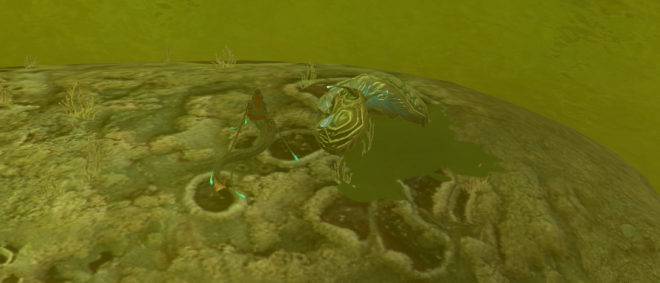
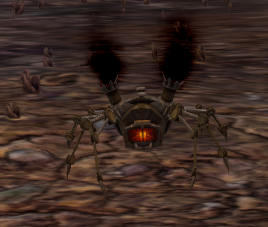
The Lost Miner
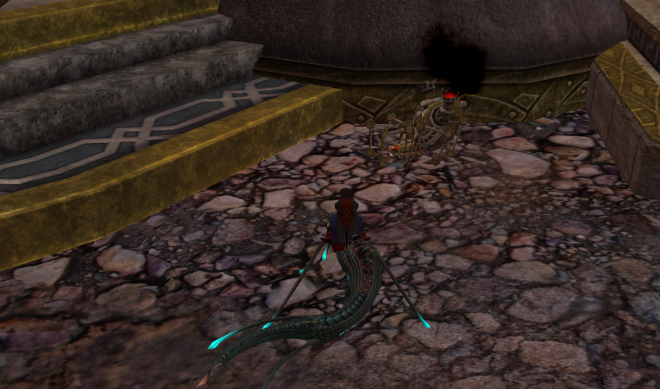
- Started: Inspect “a drained minecrawler” at (446, 85, 366)
- Goal: Get the minecrawler to its final destination
- Method: Taking over the minecrawler
The second quest in the list is another easy one. Your goal here is to walk a minecrawler from the drill in Thalumbra to the final location within the Splitiron mine. This is accomplished by inspecting the minecrawler, then right clicking and taking it over.
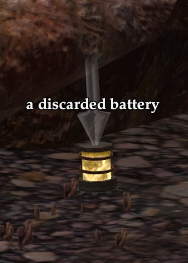
Taking over the minecrawler gives you three abilities: one for displaying battery power, one for finding power sources (Beware! This ability consumes 1% power) and one for consuming power sources. The problem you will face is that the minecrawler only has 20% battery to start with, so along the way you must find power sources to consume to be able to get to your destination without a power failure. By using your ability to find power sources, you might be able to find “a discarded battery” which you can then consume. You will probably have to do this 1-3 times depending on which route you take, and if you find power sources when looking. Once you have some extra power, you can keep going, and finally reach your destination. Once there, you will be returned to your character, and the quest is completed
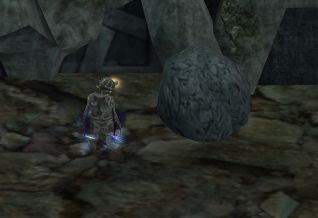
Rubble Rampage
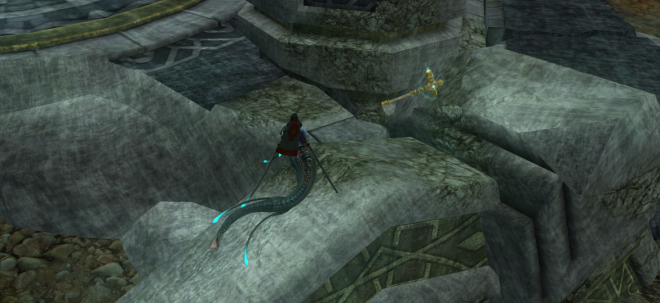
- Started: Inspect “a gleaming pickaxe” at (184, 79, -440)
- Goal: Destroy 10 rubble
- Method: Equipping pickaxe and attacking
This is another easy one, where you have to destroy some rubble. After you inspect the pickaxe and initiate the quest, you have to equip the pickaxe which will now be in your inventory. Equipping the pickaxe will turn you into a miner and make everything in the area non-aggro to you, making life a lot easier. I do however suggest using singular focus, as an ae attack can still damage and agro other enemies around you.
Now, when you have the pickaxe equipped, you just have to run around and destroy rubble with it by attacking them. Some of these will spawn “an angry rockeater” which you will have to kill, but they are quite easy. Once you have destroyed ten rubble the quest will complete and you will be back to your normal self. Don’t forget to re-equip your weapon!
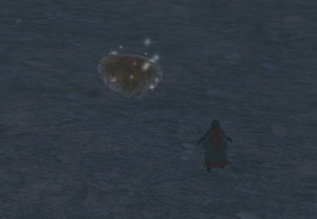
Swimming For Shrooms
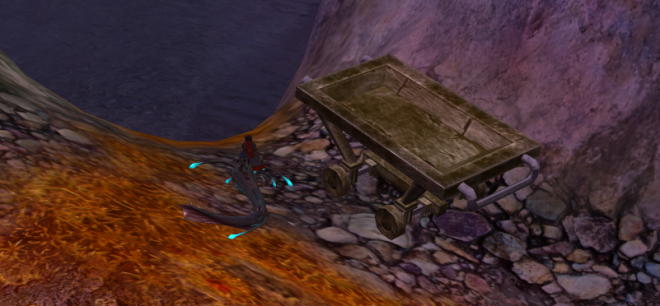
- Started: Inspect “an empty mushroom cart” at (950, 43, 198)
- Goal: Collect 10 soggy mushroom caps
- Method: Gathering soggy mushroom caps
Another relatively easy timed quest, where you are supposed to swim around and collect 10 soggy mushroom caps. For this quest I would suggest using some form of water breathing, like totem of the otter or the something similar. Once you begin the quest, you will have to jump into the water and start looking around for the mushroom caps (Beware of the fish and umbrine terrors in the water!).
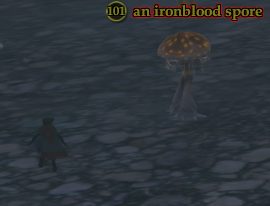
It is fairly straightforward, and it is easy to keep track of how many mushroom caps you have harvested, as there will be an icon in your detriment window showing you how many you have found. Sometimes, the already harvested caps can come to life as “an ironblood spore” and you will have to kill it and then harvest that mushroom cap again. When you have all ten mushroom caps, return to the cart and deposit them to complete the quest!
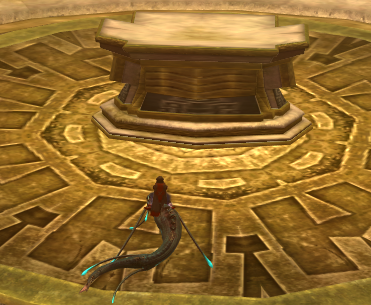
Unsealed Tombs
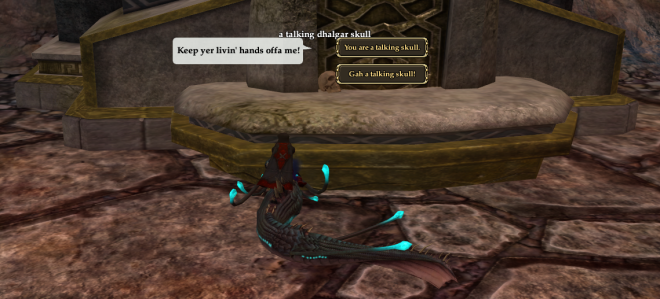
- Started: Talk to “a talking dhalgar skull” at (362, 177, 555)
- Goal: Seal 9 tombs.
- Method: Kill 9 “a wandering skeleton”, bless them at the altar and seal the tombs
Unsealed tombs is a bit trickier as it requires you kill specific enemies in an area with a relatively speedy trash respawn. In this quest you will be sealing tombs by order of a talking skull. Before starting this quest, I would recommend you to clear out all of the enemies in the tomb and altar area, as this will make your life easier!
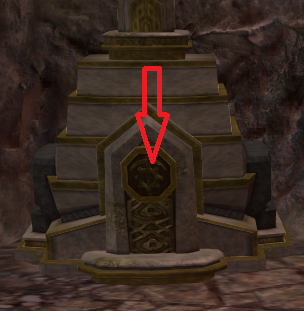
Once initiated, you will have to kill nine “a wandering skeleton”, click their bones once they are dead, and take the bones to the nearby altar. When you have blessed the bones at the altar you will be able to seal the tomb the skeleton came from, which is done by clicking on the tomb sigil. After that you can run around and seal the tombs, and when the last one is sealed the quest will be completed!
NOTE: You can collect all 9 skeletons, bless them, and then seal all 9 tombs rather than having to do them one-at-a-time.
Memory Bloom
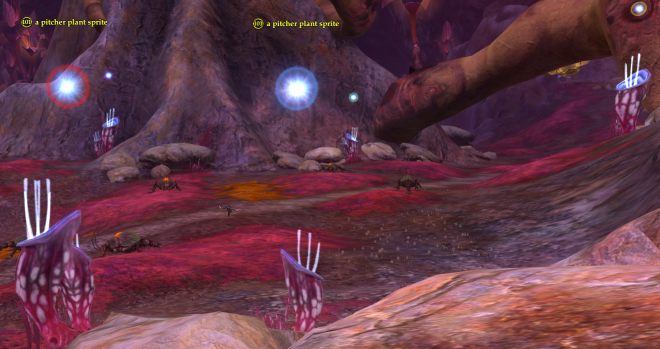
- Started: Inspect “a pitcher plant” at (515, 73, -167)
- Goal: Kill 5 “a pitcher plant sprite” in order twice
- Method: Killing “a pitcher plant sprite”
While pretty straightforward, this quest does require that you pay attention to what’s going on around you. Once the quest is initiated, five “a pitcher plant sprite” will spawn one after the other over pitcher plants in the area. If you stand by the quest starter and zoom your camera out, you should be able to see all five from that location. I would recommend watching them all spawn before starting to kill them, as they go down fairly quick. It is central to the quest that you remember in which order these spawn, as you will have to kill them in the same order. The procedure is then repeated once, and when you have killed them in the correct order the quest is completed!
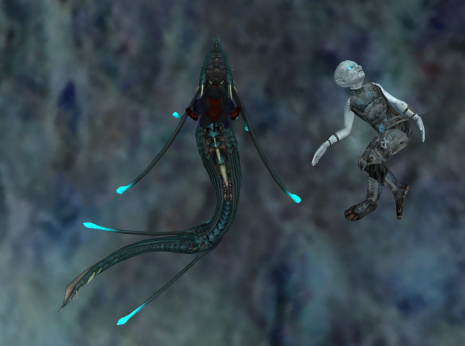
Millions of Leeches, Leeches for Me
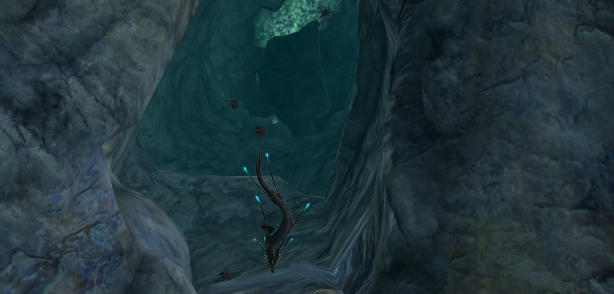
- Started: Inspect “an immolated gnemlin” at (342, 483, 100)
- Goal: Survive the onslaught and kill the named
- Method: Killing
This quest might be a bit hard to find, as it is hidden within a cavern in the ceiling of Thalumbra. The entrance to this particular cavern is through a hole located above (80, 122, 95). You will have to fly all the way up, and then through a passageway leading in to the cave. There are a number of enemies on the way, so stop and kill some if you have to, or just fly all the way to the back of the cave and most of them will leash. I would recommend killing all the remaining enemies found within the cavern prior to starting the quest.
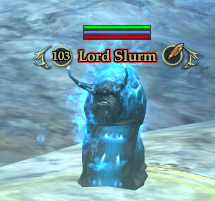
Once you start the quest, as you might understand from the name, it is all about the leeches! There will be a steady stream of leeches coming at you for the duration of the quest, and your goal is to kill them and survive until the time runs out. Once the time runs out a named leech “Lord Slurm” will spawn and you then have a decent amount of time to kill him. When he is dead, the quest is completed!
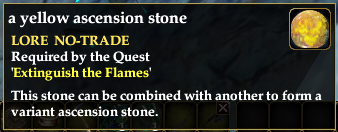
Extinguish the Flames
- Started: Inspect a brazier at (-107, 232, -692)
- Goal: Quench the flames
- Method: Killing “an Aberrant Ascender” and combining ascension stones
Extinguish the Flames is the first of the difficult quests, and is also bit hard to find. As the previous one, this quest is also located within a cavern, found inside one of the stalagmites hanging from the Thalumbra ceiling. The entrance to this cave is roughly located at (-91, 245, -834). Once inside you will find that there are multiple enemies, which I would recommend killing prior to trying the timed quest.
When the quest starts, it will tell you to put out a certain colour flame. At the same time three “an Aberrant Ascender” will spawn. You must kill these to get ascension stones of different colours which are to be combined to the same colour as the flame. At certain graphics settings it may be possible to discern the colour they will drop from an aura around their Robes. Once you have combined them, click the flame, and it will change to another colour. In total this has to be done 3 times to complete the quest. It is possible to see what colour the flame has, but to be safe, it is also written in your quest helper and journal. If you use the wrong combination, you will be able to try again
The order of the flame colour is random each time, but the options are as follows:
- Orange (red and yellow ascension stones)
- Purple (red and blue ascension stones)
- Green (blue and yellow ascension stones)
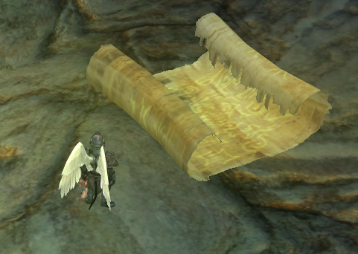
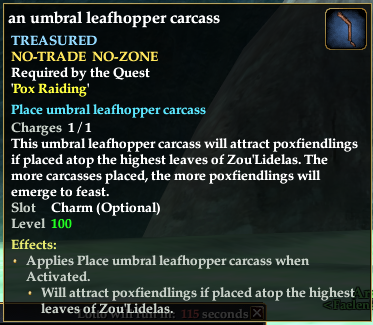
Pox Raiding
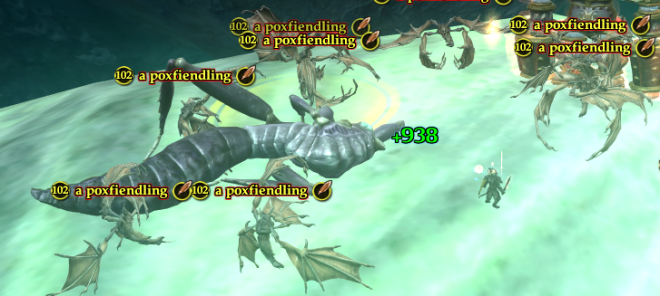
- Started: Inspect a scroll at (-428, 258, 393)
- Goal: Kill 50 “a poxfiendling”
- Method: Killing “an umbral leafhopper”, baiting “a poxfiendling” and killing 50
In my opinion, this is the one of the most difficult one of the timed quests, due to the sheer amount of enemies coming at you all at once, but more about that later.
The quest is started inside one of the Glaufae huts. Your task is to slay 50 “a poxfiendling” before you run out of time. To be able to do this, you first have to find something that will lure them out, “an umbral leafhopper carcass” is what you are after, which is a body drop from “an umbral leafhopper”.
Once you have acquired a carcass, you should fly up to the highest leaves of Thalumbra, I like the ones found around (-346, 330, 400). At this stage, you will want to use the carcass from your inventory and straight away you will be attacked by a never ending flow of “a pox fiendling”. I definitely recommend using a buddy or a mercenary for this one! If you are feeling particularilly powerfull, it is possible to use two carcasses for a faster stream of enemies, but it gets rough, you have been warned! If you succeed in killing 50 of them before time runs out, you will have completed the quest.
Leech Liberator
- Started: Inspect “a dying grimleech” at (-404, 31, -497)
- Goal: Save 5 “a dying grimleech”
- Method: Gathering pollen, healing leeches and killing attackers
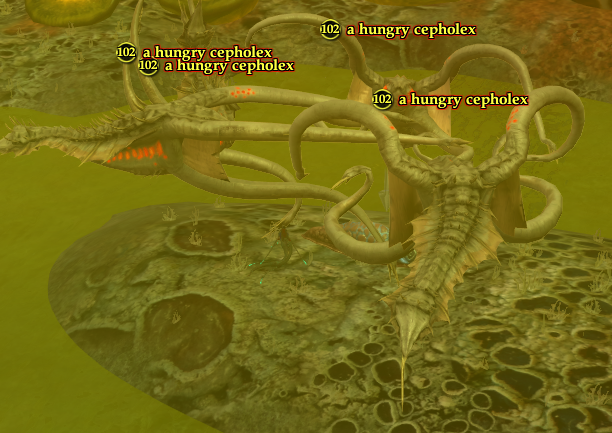
This is the last quest in the guide, and also a difficult one. The goal of the quest is to save five dying grimleeches from being killed and eaten by cepholex attackers. Before starting the quest, it is worth noting that killing the other enemies alive in that area will make the quest a bit easier, and this is another one where I recommend singular focus, as your attacks can actually damage the grimleech you are trying so hard to save!
NOTE: Leeches are spread over a huge area that extends slightly beyond the marked blue area. You’ll need to use Tracking to find them all. As a dirty trick, one of them spawns in an area with dozens of cepholents. Just one stray attack and your leech will be killed.
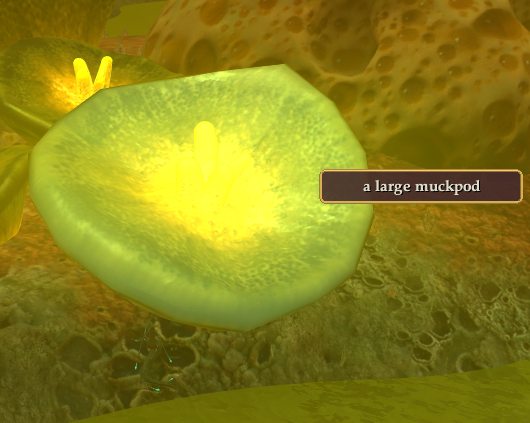
The first thing you want to do once the quest is started is to harvest some “muckpod pollen” from the surrounding muckpods. You will then feed this to the dying grimleech so that it can begin its escape from the claws of death. Somewhere around now the grimleech will be attacked by four to five cepholexes and you will have to kill them so that the leech may continue his journey. The leech will be attacked a couple of times before he reaches safety, and then it is time to save the next one! This is repeated for five leeches, and once all five are safe, the quest is completed!


Here’s my 2 cents.
Lost miner was actually one of the hard ones until you figure out where the batteries are. They’re always in the same place and now marked on eq2maps which makes it simple.
Unsealed Tombs is a simple one as well. Yes, there are a few mobs, but they all die fast, and even with a healer its really no issue.
Extinguish the flames is probably the toughest of them all. I can do it on my conj every time, but other chars is harder and most people I know have trouble doing it in time.
Pox raiding is actually a simple one. Using 1 carcass gives a steady stream of easy mobs that is no trouble for any class to kill as they don’t really come that fast. If you’re high dps or just have a lot of AOEs, using 2-4 carcasses will give you a ton of mobs.
The part about bringing a buddy or merc though, would have to be a merc as you can’t do any of these with a friend. If you do, they see their mobs and you see yours, and even blue AEs won’t hit their mobs. The only exception is unsealed tombs, and with that one whoever gets first hit on the mob gets the body drop.
waooww : the definitive guide of secondary quests in Thalumbra, just perhaps missing a word about the ever duck portal 😉
nice job I was about to deliver the same in French on http://www.guerrier-celeste.fr you again preceded me one bit, will have to revisite some imprecision on mines
A brief duck article may be coming. 🙂
A great guide! Thank you!
A couple of notes: the treasure chests are trackable, so for those with tracking they’re much easier to find. Also, if you like to announce where a certain chest is (like many helpful people do on Halls of Fate server), please announce which instance of Thalumbra you’re in, as the chests spawn in different areas in different instances.
whoops, that wasn’t supposed to be a reply to the duck comment ❓ 🙁
Awesome guide, thanks very much!
Pox raiding is actually easy. Damage shield potion helps and just toss down maybe 4 corpses. Waves of mobs swarm you, but should be manageable for most. Really fun, wish there was a group version of the ring event.
This is awesome! Muchas gracias 🙂
Best guide I’ve read all year!
Is there any connection between the “Harder” Key Quests and better chance at the better Keys By Chance?
Pox Raiders is actually really easy, Pop a merc up, target through merc. Have merc on full assist protect etc.
I don’t find Pox Raiding to be difficult at all. The mobs are pretty easy to strike down and don’t do much damage, If you have a healer merc or are a healer it should be a breeze.
Now Extinguish the Flames and Leech Liberator, those are annoying and marginally difficult.
Extinguish the Flames you always seem to be right up against it no matter how quick you go, and for me Leech Liberator is still buggy as you can’t get the cephlex to lay off the slug and if you AE you hasten its demise.
In rough geographic order if you imagine a sweeping upside-down U from Maldura up and around and finishing in the hole in the ceiling. Just evac.
Memory Bloom can be found in Screwthatville.
LOL Feldon I just now saw the Screwthatville…I hope to never visit there.
Actually Pox Raiding is not that bad if you have the DPS for it. I do it regularly on my main now. I put it back on the table. Memory Bloom though — that one just sucks.
Memory bloom is easy! They colors always spawn in alphabetical order, once you remember that, it’s smooth sailing.
Blue, Green, Purple, Red, Yellow. Repeat once, done!
memory bloom is blue, green, purple ,red then yellow…can’t miss